Finance and operations teams often rely on exporting data from their ERP system to build reports in external tools. This creates delays, increases the risk of version conflicts, and forces users to switch between platforms throughout the day. When BI integration in ERP is configured properly, decision-makers access real-time analytics without leaving their core application.
Onfinity ERP supports direct integration with Yellowfin BI, enabling embedded reporting that respects user roles and organizational structure. The setup involves configuring server connections, defining tenants for data isolation, mapping data sources, and assigning user permissions based on role requirements.
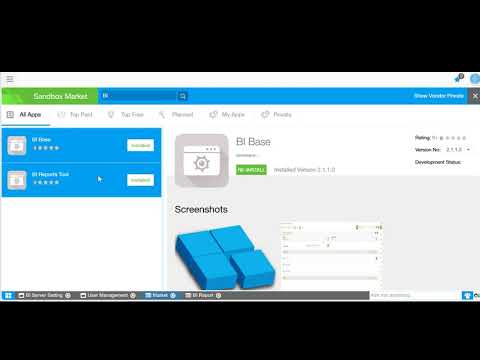
Configuring the BI Server Connection
Before reports can appear inside the ERP interface, the system needs a secure connection to the BI platform. Onfinity requires two modules to be updated: the BI Base Module and the BI Report Tools Module. Once updated, the BI Server Settings window becomes accessible.
This window stores the Yellowfin link, along with the username and password needed to authenticate requests. These credentials establish a communication channel between Onfinity and the BI platform, allowing data to flow securely and reports to render inside the ERP interface.
Without this connection in place, the system cannot pull report metadata or execute queries against the BI server. This step is foundational for everything that follows.
Creating Tenants to Control Data Visibility
Multi-tenant architecture allows different organizational units or business entities to operate within the same ERP instance while maintaining data isolation. In Onfinity, tenants are created through the Client Organization window.
To create a tenant, log in using the default tenant credentials and navigate to the Client Organization section. Each tenant requires a unique name and a client reference ID that corresponds to the tenant value in the system. This reference ID links the tenant configuration to the correct data subset.
Once the tenant is created, authorized users are assigned. Only users added to this list can access data and reports associated with that tenant. This ensures that finance users in one entity do not see operational data from another, even though both work within the same ERP environment.
Mapping Data Sources for Accurate Reporting
After the tenant is configured, the next step involves defining the data source that the BI platform will query. This is done within the tenant itself. The data source contains connection details that point to the correct database or schema where transactional data resides.
Once the data source is defined, log out and log back in using the default tenant. Navigate to the Admin Console and select the default data source. In the usage parameters section, update the data source field to point to the newly created tenant.
This mapping ensures that when a user generates a report, the BI platform pulls data from the correct tenant environment. Misconfigured data source configuration for BI can result in incomplete datasets or cross-tenant data leakage, which compromises both accuracy and compliance.
Assigning BI Access Based on User Roles
Not every user needs access to every report. Onfinity allows administrators to control which users can interact with BI tools and which roles they inherit from the Yellowfin platform.
Open the User Management window and select the user who should receive BI access. Navigate to the BI User tab and enable the BI User flag. If Yellowfin roles are not visible, click the Yellowfin Roll button to pull the available roles from the connected BI server.
Select the appropriate role based on the user’s responsibilities. If the user already exists in Yellowfin, enable the option to map the existing BI user. This links the ERP user account to the corresponding BI account, preserving role-based permissions and report history.
Once saved, the user can access BI reports that align with their assigned role. Executives may see high-level dashboards, while department heads view operational metrics specific to their function. This role-based access reduces clutter and keeps reporting relevant.
Accessing Reports Inside the ERP Interface
After the connection, tenant, data source, and user permissions are configured, the final step is to verify access. Log out of the system and log back in. If necessary, reset the cache to ensure the updated configurations are applied.
Navigate to the BI Server Set Report window. This section displays all business intelligence reporting setup instances accessible to the current user based on their role and tenant assignment. Reports are filtered automatically, so users only see what they are authorized to view.
This embedded access eliminates the need to open a separate BI tool, log in again, and navigate to the correct folder. Users stay within the ERP interface, maintaining context and reducing the cognitive load of switching between systems.
Because the data source is linked to the tenant and the tenant is mapped to live ERP data, reports reflect real-time information. There is no export step, no manual refresh, and no version confusion.
See the Configuration in Action
If your organization is still relying on exported spreadsheets or standalone BI tools that require manual data updates, it may be time to evaluate how embedded analytics can streamline reporting. Request a demo to see how Onfinity ERP integrates with Yellowfin BI and delivers role-based reporting directly within your workflow.
Watch how this works in Onfinity ERP:
To learn more about how Onfinity supports integrated reporting, follow us on our LinkedIn page.